

Mountain Gear
Snowshoes vs. Microspikes vs. Crampons: Which Winter Traction Is Right for Your Route?
October 02, 2026
At the trailhead, the decision is usually made for you. Except when it isn't. Snowshoes on the pack, microspikes somewhere in the bottom of it, crampons left in the garage: three tools, three different jobs, and ten cold minutes spent guessing which one belongs on your feet.
Most winter routes need only one of them. The trick is matching the tool to the snow that is actually there, not the snow you pictured from the road. A packed forest track at 1,500 metres asks something very different from a wind-scoured ridge at 3,000. Read the ground first, then choose.
Start With the Snow, Not the Catalogue
It helps to name what you're walking on. Winter surfaces fall into a few rough families:
- Deep, unconsolidated snow — fresh powder, drifts in the trees. You sink, and sinking is the problem.
- Packed snow — a popular trail, a snowshoe track, a skin track. Firm enough to carry you, slick enough to send you sideways.
- Refrozen crust and boilerplate ice — hard and glassy, often early morning, often in shade.
- Firm névé and steep snow — spring conditions, alpine faces, snow that holds a boot edge but not a slip.
Slope angle matters just as much. On gentle ground, traction is about comfort and efficiency. On steep ground it's about consequence: what happens in the two seconds after a foot slips. Keep that question in mind. It sorts the tools faster than any specification.
Snowshoes: Flotation Comes First
Snowshoes solve sinking, not slipping. The deck spreads your weight so you stay on top of deep snow instead of ploughing through it thigh-deep. The small teeth under the frame give some bite on packed sections, and a heel lift saves your calves on long climbs, but a snowshoe is not an ice tool and shouldn't be treated as one.
Choose them when the snow is deep and soft and the day would otherwise be a postholing contest; when you're on forest roads, meadows, rolling ridges and moderate slopes; and when you're carrying a pack and want a predictable, low-consequence outing.
Leave them behind when the route is a hard, refrozen track or a steep firm face. Walking a snowshoe across boilerplate ice is a good way to discover how little those teeth actually do. Technique counts too: widen your stance slightly so you don't catch a deck on the other foot, use poles for rhythm and balance, and check the binding tension before you set off. A loose binding is the most common reason a snowshoe day goes badly. Deploy the heel lift early on long climbs, not after your calves have already complained.
Microspikes: The Middle Ground
Microspikes are a low elastic harness with a set of short steel points under the forefoot and heel. They're the tool most winter hikers actually need most of the time.
They shine on packed snow, icy trails, frozen dirt, refrozen morning crust and the mixed surfaces you meet on a valley path in January — ground where boots alone are sketchy and crampons are absurd. They're light, they go on over ordinary hiking boots in under a minute, and you can walk in them for hours.
The limits are just as clear. In deep soft snow they do nothing about flotation; you'll posthole with extra hardware on your feet. On steep, hard snow they lack the point length and the rigidity to hold a front-point stance. On very soft or very narrow boots the harness can shift, so check the fit: the spikes should sit under the sole, not creeping up the side.
A few practical notes. Take them off for long stretches of bare rock or pavement, because the points blunt quickly. Watch for balling — snow packing under the forefoot — and clear it before it turns into a stilt. And carry them in an outside pocket rather than the bottom of the pack, since the moment you need them is usually the moment you don't want to unpack everything.
Crampons: For Firm, Steep and Consequential Ground
Crampons are a different category of equipment. Long steel points, a rigid or semi-rigid frame, and a binding designed to hold a boot firmly. They exist for hard snow, ice, névé and glacier terrain, where a slip has real consequences.
They also demand more of you. The boot has to be stiff enough for the binding type; a soft summer hiking boot in a step-in crampon is a mismatch, and even strap-on models work best with a boot that doesn't flex like a sock. Check the fit at home, not on the slope, and adjust it to the boot you're actually wearing. Anti-balling plates are worth having.
On the move, the technique changes. Flat-footing on moderate firm slopes keeps all the points engaged; front-pointing on steeper ground takes practice and strong calves, and it is not a skill to learn on a committing face. Which is the point: if your route needs crampons, it probably also deserves a day of guided practice or a course first. Snow-covered alpine terrain brings avalanche considerations that no piece of steel under your boot solves. Check the local avalanche forecast, carry the right equipment, and if you're unsure about conditions or your own ability, ask a qualified mountain guide. That's a normal, sensible thing to do.
A Decision Sequence That Works
Put the three tools in order and the choice usually makes itself:
- Name the surface you'll be on for most of the day. Deep soft snow points to snowshoes; packed and icy trail points to microspikes; firm steep snow or ice points to crampons.
- Ask how steep it gets. Low angle and rolling: snowshoes or microspikes. Sustained steep ground where a slip would be serious: crampons and the skills to use them.
- Expect mixed surfaces. Many routes give you a packed approach, a soft meadow and a refrozen traverse in the same day. Carrying two tools and swapping is normal; snowshoes plus microspikes covers a lot of winter walking.
- Be honest about what you can use well. A crampon you can't front-point in is worse than a microspike you trust.
Boots, Bindings and Small Details
Every one of these tools fails in the same way: it comes loose at the worst possible moment. Snowshoe bindings should be snug over the boot with no lateral roll. Microspike harnesses should be centred, with the front points under the ball of the foot. Crampon bindings should be set at home and re-checked in the cold, because straps and plastic behave differently at minus ten.
Then think about the rest of the kit. Poles make a real difference on any icy descent. Gaiters keep snow out of your boots when you're sinking. A small repair kit — a spare strap, a length of cord — has rescued more winter days than most people expect.
Traction buys you grip. It doesn't buy you judgement. Snowpack, weather, daylight and your own energy decide more than the points under your feet.
Before You Leave the Car Park
Strap everything on once, in the cold, before you start walking. Adjust the bindings to the boots you're wearing. Check that the spikes or points sit flat and the harness doesn't shift when you twist your foot. Put the tool you expect to need in an outside pocket. Then take a last look at the route: if the ground is steeper or harder than the tool on your feet can handle, turning around is a legitimate plan, not a failure.
If the day involves steep snow, glaciers or avalanche terrain, book a course or go with a guide. The three tools above are simple objects. The judgement about when to use them is the part that takes time to learn.
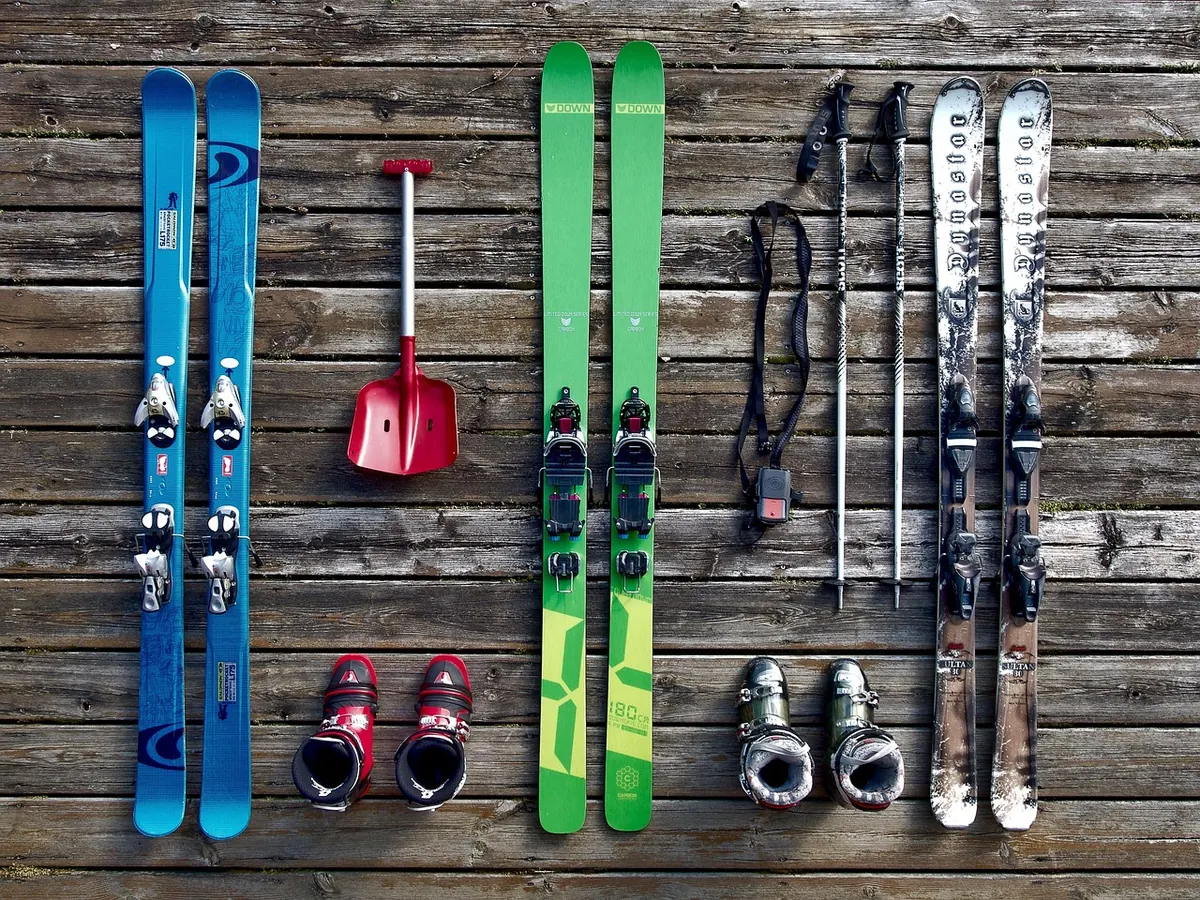
Photo: tookapic / Pixabay
Related posts
More stories you’ll love reading