

Snow Hiking
How to Layer for Snow Hiking Without Overheating: A Start-to-Finish Guide
October 02, 2026
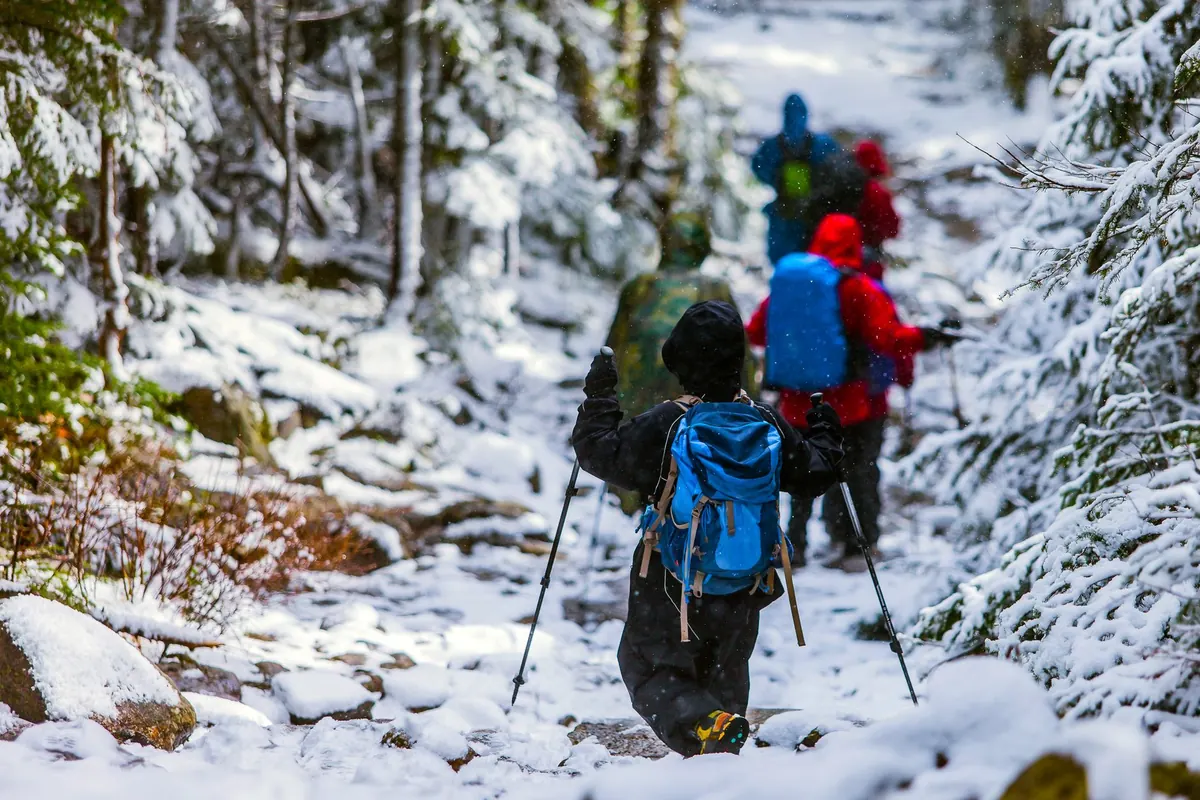
Snow hiking has a rhythm problem. You leave the car park at minus eight, climb for twenty minutes and start steaming inside your jacket. Ten minutes later you're on an exposed shoulder with wind pushing through damp fabric, and the layers that felt thin at the start feel like nothing at all.
The fix isn't a better jacket. It's a system you change in small, quick steps, and the discipline to change it before you need to. Here's how to build it and how to run it through a real winter day.
Start Cool, and Let the Base Layer Do the Quiet Work
Whatever sits against your skin decides how the day goes. Pick a thin, close-fitting long-sleeve of merino or a synthetic knit. Both move moisture away from the body; merino copes better over several days without smelling, synthetics dry faster. Leave cotton at home. It holds water against you and stops insulating once damp.
On your legs, thin leggings under softshell trousers are enough for most uphill work. If you're breaking trail in deep snow you'll be warmer than you expect; following a packed track into wind, colder. Dress for the effort you'll make, not for the view from the car park.
Resist starting warm. The first ten minutes should feel slightly cool, even a little uncomfortable. If you're cozy at the trailhead, you'll be damp within half an hour. On a genuinely cold morning, wear a thin hat and light gloves from the start, but keep your torso a little underdressed. Your hands and head are easy to adjust; a soaked base layer is not.
The Midlayer Is Your Throttle
Treat the middle of your system as the layer you'll touch most. A zip-neck grid fleece is the workhorse for active climbing: warm enough for a short stop, breathable enough that you don't boil on a long ascent. A light synthetic vest or thin puffy does the same job on colder days, but only if you'll actually take it off before the steep part.
Two thin midlayers give you more control than one thick one. A base layer, a light fleece and a windproof shell combine in ways a single heavy jacket cannot. Zips help as well: a deep chest zip lets you dump heat without stopping to strip.
A practical test: sweating under your pack straps within fifteen minutes of climbing means you're a layer too warm. Stop, remove the outer or middle layer, stow it, carry on. Thirty seconds now saves you a cold, clammy hour later.
Shell and Insulation Are Not the Same Job
People often treat a waterproof jacket as their warm layer. It isn't. A shell blocks wind and snow; it traps heat only as a side effect, and it traps moisture with it. Look for a decent hood, pit zips or vent pockets, and chest pockets you can reach with a pack on.
Insulation is what goes on when you stop. A light synthetic puffy, carried rather than worn, is the most useful item in a winter daypack. Synthetic keeps some warmth when damp; down is warmer for its weight but hates moisture. On a hike where you'll sweat, synthetic is the forgiving choice.
Small details matter more than you'd think:
- A shell you can open at the chest or armpits without taking off your pack
- A hood that fits over a hat and stays put in wind
- Gloves thin enough to work a zip and a buckle without coming off
- An external pack pocket for the layer you remove first, usually the midlayer
If your layers live at the bottom of the pack, you won't adjust them. That's how people end up either soaked or frozen.
Pack for the Change, Not the Forecast
A winter day can go through four or five microclimates: a sheltered forest, an open ridge, a north-facing gully, a sunny lunch spot, a windy col. Pack so the transitions are fast. Put the layer you're most likely to remove first in an accessible pocket or under the lid, not at the base of the pack. Keep a dry pair of gloves and a spare hat in a small stuff sack. If you stop for lunch and your hands are cold, a dry hat and gloves will do more for your comfort than another shell.
Carry the puffy even when the forecast looks mild. It weighs little, and it is the one item that turns a cold, windy stop from miserable into manageable. A thin foam sit pad is another small luxury that lets you rest on snow without instantly losing heat through your legs.
Layer changes should take less than a minute. If they take longer, you'll skip them, and then the system fails at exactly the moment it matters.
On the Climb, Shed Before You Sweat
Uphill is where the system is won or lost. A few hundred vertical meters of steady climbing raise your body heat more than the air temperature drops. The mistake is waiting until you're hot; by then you're already damp.
At the foot of a long climb, judge how long it will last. If it's more than ten or fifteen minutes of real effort, take off a layer before you start, usually the shell and sometimes the midlayer too. Roll your sleeves, open your collar, push your hat back, pull the buff down from your face.
Then pace so the engine runs steady instead of surging. Short steps on steep snow, hands free, breathing hard enough that you could speak a sentence but not hold a conversation.
A rough sequence for a long ascent:
- At the base: open vents, unzip the collar, roll up sleeves, and take off the shell if the climb will be sustained.
- Ten minutes in: if you're still too warm, stop and remove the midlayer before you start sweating through the base layer.
- Near the top: as the ground flattens, add the midlayer back before you cool down; add the shell if there's wind.
- At the summit or viewpoint: put on the puffy immediately, over everything, even if you only plan to stop for a few minutes.
That sequence is not fussy. It is just three moves: shed early, add early, cover up before you stop. Most overheating happens because people wait for a sensation, and by the time they feel hot, the sweat is already in the fabric.
Stops, Descents, and the Quick Change
Stops and descents invert the problem. During a climb you're making heat; the moment you stop, you're losing it fast, especially if there's wind. Put insulation on before you take your pack off, not after. If you're stopping for more than a couple of minutes, add the puffy and consider a dry hat. If you're changing gloves or fiddling with a pack, do it with your shell hood up and your core covered.
On the descent, you'll be working less but still moving. The trap is wearing everything you put on at the summit all the way down, then arriving at the car park damp again. A good pattern is to start the descent slightly cool, remove the puffy once you've warmed up after five or ten minutes, and keep the shell on if the wind is strong or snow is falling. If the trail is easy and the air is still, open the shell's vents and let the climb's heat escape rather than stripping down to a base layer in the cold.
Watch for the warning signs in both directions. Overheating looks like sweat running down your back, a damp chest under the pack straps, and a sudden chill when you slow down. Underdressing looks like numb hands, a tight jaw, and a reluctance to stop moving. In both cases, stop early, make one small change, and keep the day moving. That is the whole art of layering in snow: not one perfect jacket, but a series of small, timely adjustments that keep you dry, warm and moving.
Photo: PhotoSpirit / Pexels
Related posts
More stories you’ll love reading